

 illustration from The Kitchn
Unlock Adventure: Your Ultimate Guide to Crafting Incredible Backyard Forts
Remember the thrill of a secret hideout? Backyard forts aren't just kid stuff; they're blueprints for imagination, collaboration, and pure, unadulterated fun. Building one offers children a unique space to dream, scheme, and connect with the outdoors. This guide is your map to creating an amazing backyard fort, covering everything from the initial spark of an idea to the final, cozy touches. Let's build some memories!
Why Every Backyard Needs a Fort: The Perks for Kids
More than just structures, forts are development powerhouses:
- Ignite Imagination: A few branches or blankets can become a castle, a spaceship, or a top-secret lab. Forts fuel limitless creative play.
- Build Problem-Solvers: How do we make the roof stay up? Kids learn planning, teamwork, and critical thinking as they tackle construction challenges.
- Get Kids Moving: Hauling materials, building, and scrambling in and out encourages active outdoor play.
- Foster Social Skills: Building together requires communication, negotiation, and cooperation – essential life skills learned through play.
- Instill Ownership: Having their 'own' space teaches responsibility, care, and respect for shared rules.
- Create Core Memories: The laughter, challenges, and triumphs of fort-building become cherished childhood stories.
Phase 1: Planning Your Fort Masterpiece
A little planning goes a long way. Think about these key elements:
1. Prime Real Estate: Choosing Your Spot
Look for a location that's:
- Safe: Free from hazards like sharp rocks, toxic plants, or steep drops.
- Easy to Access: Kids should be able to get in and out comfortably.
- Level Ground: A flat base makes building simpler and safer.
- Shaded: Protection from the sun is crucial, especially during summer. Under a tree is often ideal.
- Permitted: Quickly check local zoning or Homeowners Association rules about backyard structures.
2. Dream Design: What Kind of Fort?
Consider your resources, time, and the builders' ages:
- Classic Stick Fort: Uses natural materials like fallen branches and twigs. Great for nature lovers.
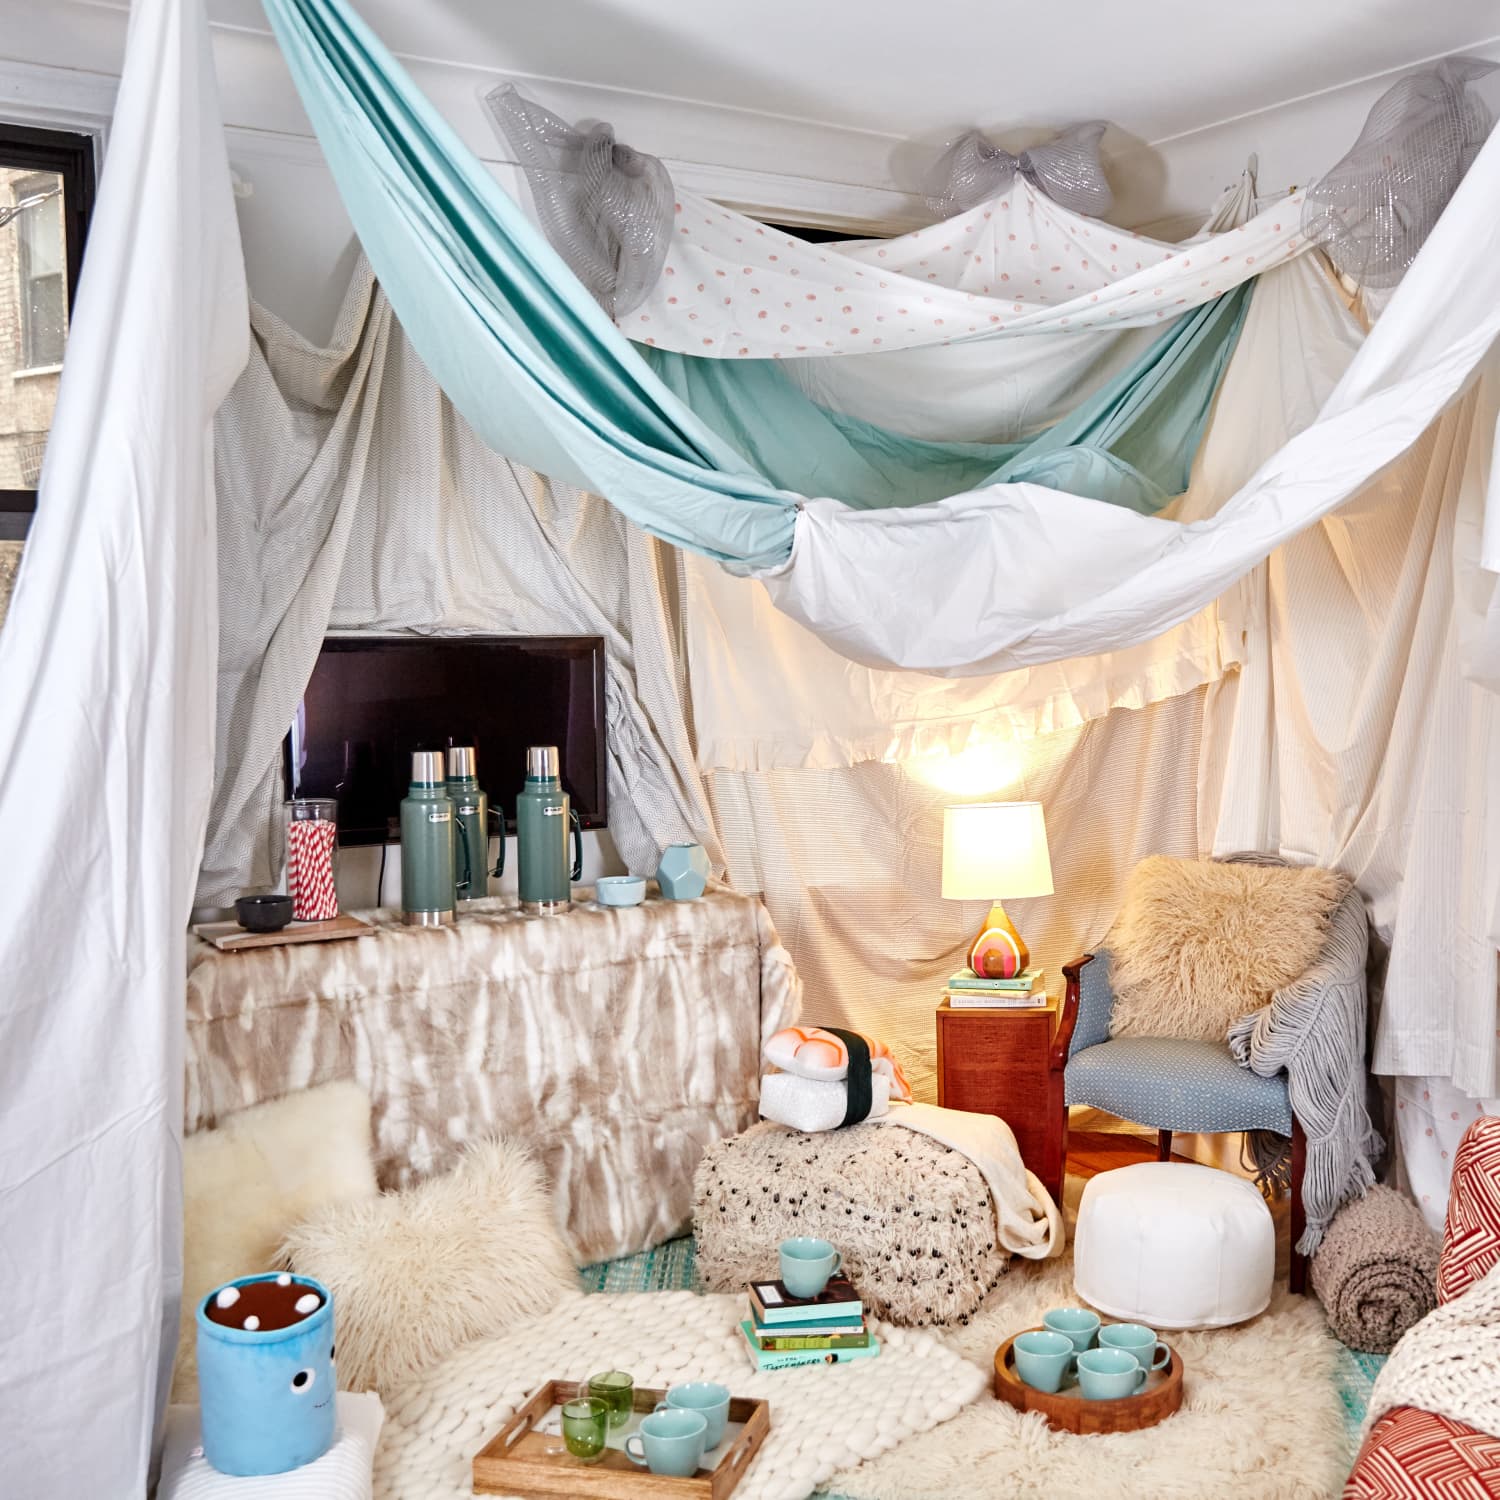
- Instant Blanket Fort: Quick setup using blankets, chairs, or trees. Perfect for younger kids or indoor fun.
- Durable Tarp Fort: Uses tarps and rope for a more weather-resistant structure.
- Sturdy Wooden Fort: A more permanent option built with lumber. Requires more skill and planning.
- Upcycled Pallet Fort: Creates a rustic, solid structure from repurposed wooden pallets.
3. Gather Your Gear: Materials & Tools
Collect everything upfront:
- Building Blocks: Sticks, branches, blankets, tarps, rope, twine, wood, pallets, fabric scraps.
- Fasteners & Fixings: Nails, screws, clothespins, safety pins, bungee cords.
- Tools (Adult Supervision Required!): Saw, hammer, drill, scissors, measuring tape, work gloves, safety glasses.
4. Budget Wisely
Forts can be free or fancy! Decide on a budget. Using natural and recycled materials is a fantastic way to keep costs down.
Phase 2: Construction Time! Building Your Fort
Let the building begin! Here are basic steps for popular fort types:
1. Building a Stick Fort
- Gather Materials: Collect sturdy fallen branches (avoid breaking live ones).
- Form the Frame: Lean larger branches against a tree trunk or create a teepee shape, lashing tops together.
- Weave the Walls: Fill gaps by weaving smaller sticks horizontally through the frame.
- Secure Connections: Use twine or natural vines to tie intersections for stability.
- Add a Roof: Layer leaves, smaller branches, or a small tarp over the top.
2. Creating a Blanket Fort
- Find Anchors: Use chairs, sofas, sturdy branches, or fence posts.
- Drape & Cover: Spread blankets or sheets over the anchors to form walls and a roof.
- Clip & Secure: Use clothespins, clips, or heavy books to hold fabrics in place.
- Design an Entrance: Leave a flap or opening for access.
- Make it Cozy: Add pillows and soft items inside.
3. Assembling a Tarp Fort
- Identify Supports: Trees, posts, or even a clothesline can work.
- Stretch & Secure Tarp: Use rope or bungee cords to tie the tarp corners or grommets to supports. Pull taut.
- Define the Shape: Use poles or sticks to prop up the center or sides if needed.
- Anchor the Base: Use stakes or heavy rocks to secure the bottom edges to the ground.
- Create Access: Leave one side open or create a flap entrance.
4. Constructing a Pallet Fort (Adult Help Recommended)
- Source Pallets: Find clean, sturdy pallets (check for 'HT' stamp - heat treated, not chemically treated).
- Prep the Pallets: Clean them well and sand down rough spots or splintery edges.
- Form Walls: Stand pallets upright to form a square or rectangle.
- Join Securely: Screw or bolt the pallets together firmly at the edges.
- Add a Roof: Cover the top with another pallet, plywood, or a heavy-duty tarp.
Phase 3: Decking Out Your Den
Make the fort feel like home:
- Magical Lighting: Battery-operated fairy lights, lanterns, or flashlights create ambiance.
- Comfy Seating: Toss in cushions, pillows, sleeping bags, or beanbag chairs.
- Warmth & Coziness: Extra blankets and throws for chilly evenings.
- Soft Flooring: An old rug, picnic blanket, or foam mats make it comfortable.
- Personal Touches: Hang flags, drawings, or signs made by the kids.
- Entertainment Hub: Stock with books, simple board games, or art supplies.
- Snack Station: Keep a small stash of non-perishable snacks and water bottles handy.
Fort Safety First: Playing Smart
Keep the fun safe with these guidelines:
- Adult Eyes Nearby: Especially for younger children, supervision is key.
- Check Stability: Ensure the structure is solid and won't collapse easily. Regularly inspect connections.
- Clear the Zone: Remove sharp objects, tripping hazards, and thorny plants from around and inside the fort.
- Weather Watch: Forts aren't storm shelters! Avoid use during high winds, heavy rain, or lightning.
- Entry/Exit Points: Make sure kids can get in and out easily, even in a hurry.
- First-Aid Ready: Keep a basic first-aid kit accessible for scrapes or splinters.
Fort Fun for Every Age
Tailor the fort experience:
- Toddlers (2-4): Simple indoor/outdoor blanket forts, soft toys, peek-a-boo, story time.
- Preschoolers (4-5): Easy stick or tarp forts (with help), nature collections, pretend play (house, shop), simple crafts.
- School-Aged Kids (6-12): More complex stick/tarp/pallet forts, secret clubhouses, map-making, overnight campouts (supervised).
- Teens (13+): Sturdier wooden or pallet structures, hangout zones, outdoor movie nights, study nooks.
Keeping Your Fort Fantastic: Maintenance Tips
Ensure longevity with simple care:
- Tidy Up: Regularly clear out debris, leaves, and old snacks.
- Inspect & Repair: Check for loose connections, tears, or splintered wood. Fix promptly.
- Weather Prep: Secure or take down tarps/blankets before strong winds or heavy snow. Protect wood if desired.
- Bug Watch: Check for ant trails, spider webs, or wasp nests periodically.
Level Up: Creative Fort Inspirations
Think outside the basic box:
- Elevated Escape: A low-level treehouse fort (ensure tree safety!).
- Secret Hideaway: Dig a shallow pit and use branches/tarp for a camouflaged den (ensure stability!).
- Themed Adventure: Pirate ship, fairy cottage, space station – let a theme guide your design and decoration.
- Multi-Room Mansion: Connect several smaller fort structures or use dividers inside a larger one.
Conclusion: Build More Than Just a Fort
Building a backyard fort is an investment in imagination, skill-building, and joyful memories. It's a chance to collaborate, create, and enjoy the simple magic of childhood. So, gather your crew, pick your spot, and start building your own amazing backyard adventure!
What are your favourite fort-building memories or tips? Share them in the comments below – we'd love to see your creations!
Published on May 6, 2025
reference: Personal Blog
Share to:
![]()
![]()
![]()
![]()
![]()

Gema
Wordsmith and content writer passionate about creating high-quality content that informs, entertains, and inspires. Let me bring your brand's story to life.
All stories by : Gema
0 Comments